
Your boat’s make, model and length are useful details when you ask about a dry-bilge system. They do not tell an installer how many wet zones hold water below deck, or how those pockets connect.
Two boats of similar length can need different installations. One may have a straightforward collection area. Another may have several isolated compartments, with equipment and structure between them. Before comparing systems, put together a picture of the spaces you want to keep dry.
You do not need a technical drawing. A rough sketch, a few labeled photographs and a short list of questions can make the first conversation much more useful.
Build a one-page wet-zone worksheet
Give each area where residual water collects its own entry. Use the boat’s normal floating position as your reference, since that is when you need the installation to work. If you are still finding those areas, start with our guide to the wet zones most boat owners miss.
For every location you can safely inspect, record these five details:
- A useful name. Identify the area by its position and nearby equipment. Use the same name on the sketch and photographs.
- What remains there. Note standing water, a damp pocket or marks showing where water has collected. Include when you normally see it.
- What separates it from other areas. Show partitions, channels and visible drainage paths. Do not assume that connected-looking spaces drain completely into one another.
- How it can be reached. Photograph the hatch or access opening as well as the low point. Note anything blocking a clear view.
- What you do not know. Mark an inaccessible compartment as uninspected. An honest gap is more useful than an assumed dry area.
This worksheet helps distinguish the number of hatches from the number of wet zones. One opening may reveal several separate low spots. Conversely, more than one opening may provide access to the same space.
Photograph the route as well as the destination
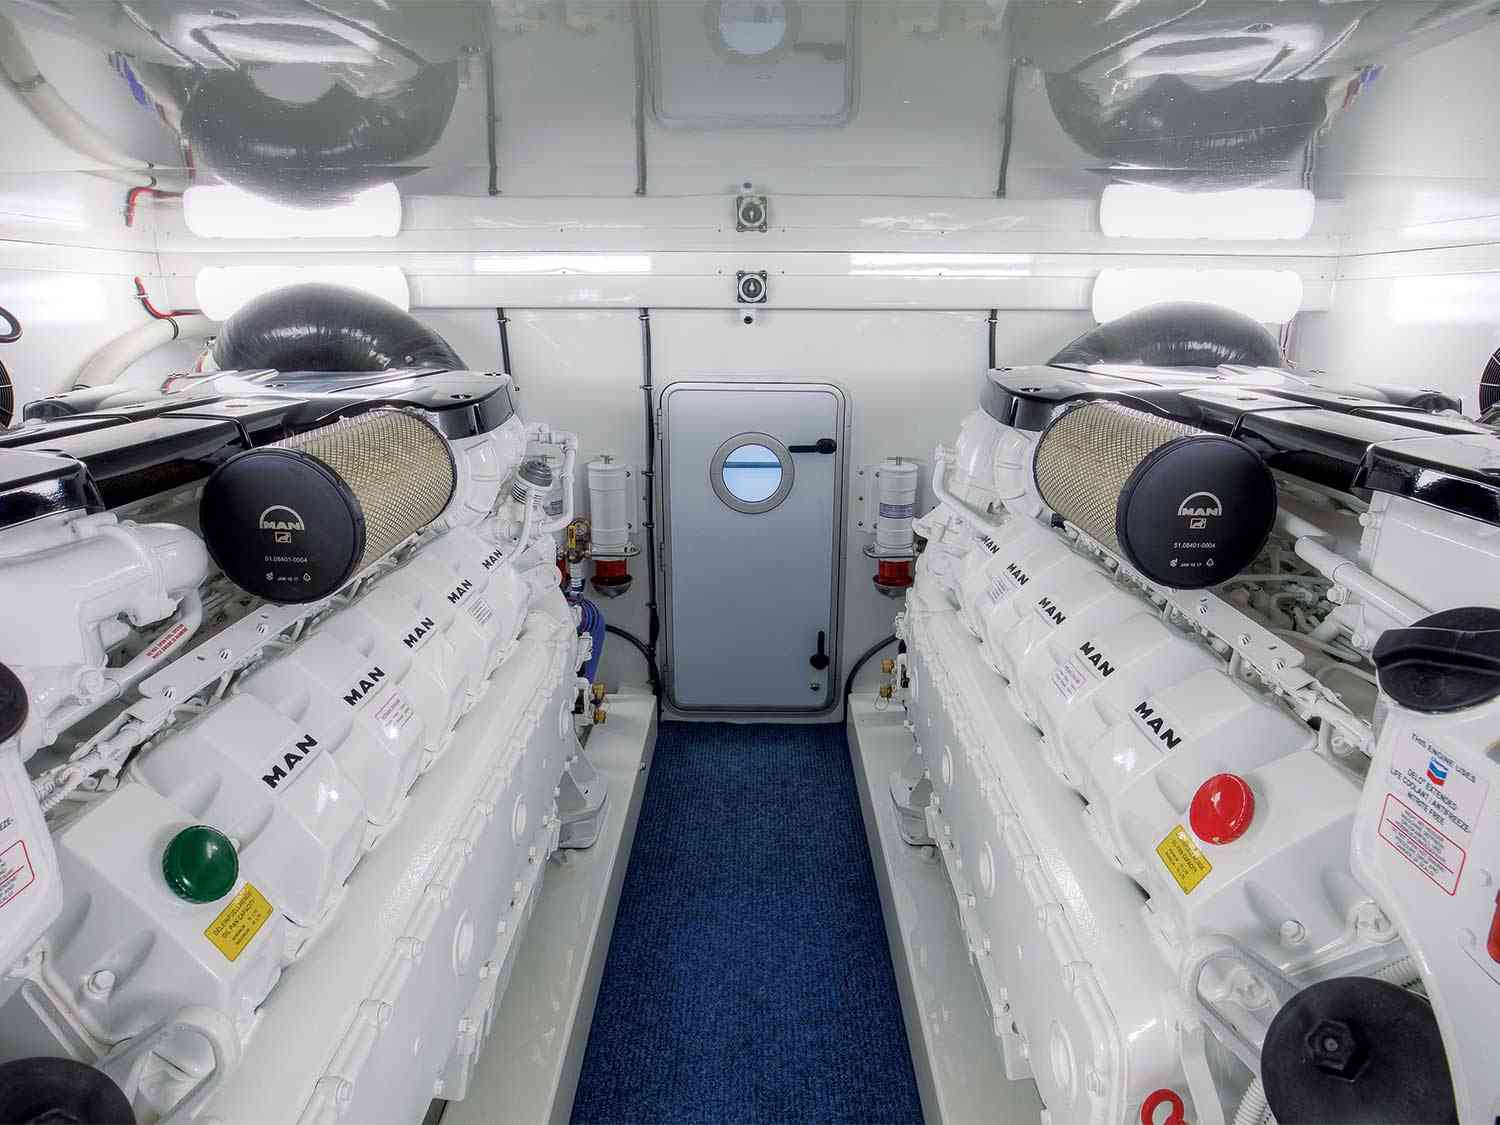
A close-up shows where water sits. A wider photograph helps an installer understand how to reach it. Include nearby structure and the surrounding equipment without removing panels or modifying the boat.
If you have a possible location for the Arid unit, photograph that too. Leave the final mounting, tubing, discharge and electrical decisions to the installation review. A location that looks convenient in a photo still needs enough space for connections and future service.
Tubing distance matters, but a straight line on your sketch is not necessarily an available route through the boat. Show the spaces between the proposed unit and the wet areas. Your installer can assess the actual route and confirm the requirements of the proposed system.
Ask what the quote covers
Use your worksheet to review the proposal location by location. Ask which wet areas are included, which pickup is proposed for each and how the pickups will remain accessible for care. Our pickup selection guide explains why the shape of a collection area matters.
Also ask what remains unresolved. An inaccessible compartment, uncertain drainage path or water source that needs repair should be visible in the discussion before work begins.
Have the installer confirm the vessel’s available power and the complete installation requirements. Existing emergency bilge pumps retain their role; choosing a dry-bilge system does not remove that requirement.
When you contact Arid about your boat, bring the make, model and length, then add your worksheet and photos. That gives the conversation a useful focus: the actual places water remains, and a practical plan to reach them.